
A loud and glamorous pocket square fold is the so-called “Bird of Paradise”. It is an eccentric fold that looks fantastic with all silk pocket squares. It requires 2 pocket squares as well as the help of a rubber band. Here is how you create this fold:
Bird of Paradise Fold Step-by-Step:
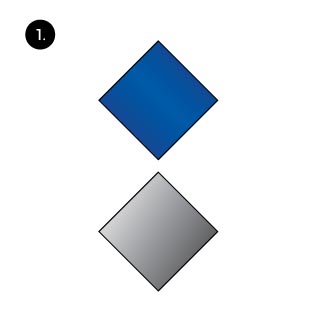
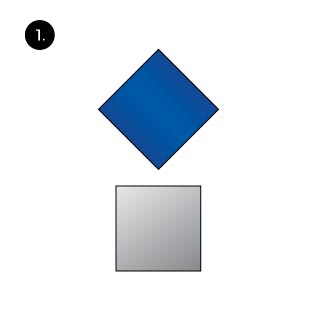
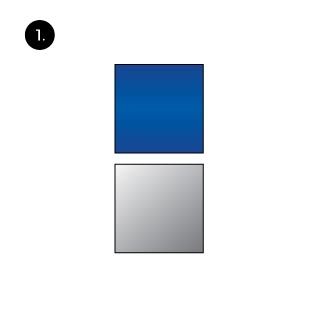 Lay both pocket squares down flat.
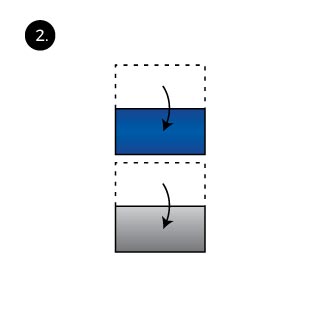 Fold both pocket squares in half to create two rectangles.
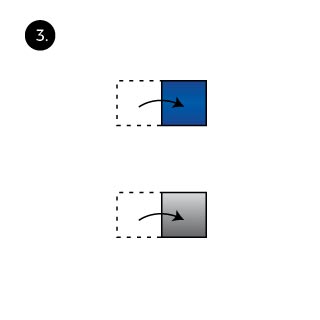 Fold both hankies in half again to crwate two equally sized squares.
 Now place one pocket square over the other with the open corners all facing the same direction. The bottom pocket square should be visible at that corner.
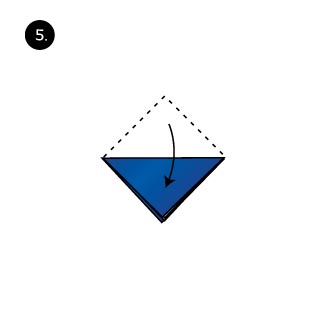 Fold both squares in half to create a single triangle.
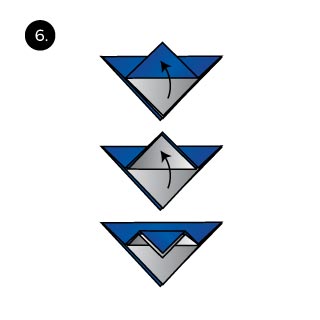 Create a pleat by first folding the top pocket square up, then just one layer of the other pocket square, before folding both back down.
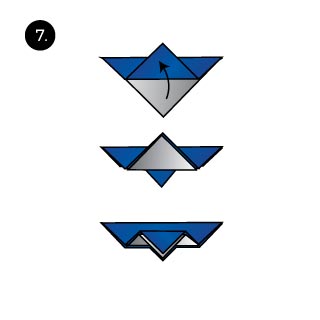 Turn the pocket square around and create the double pleat from the previous step on the other side of the pocket square.
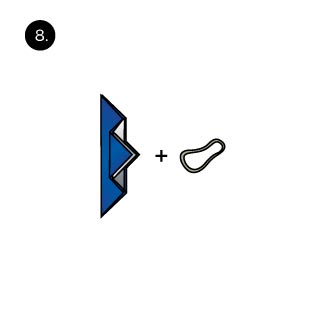 Turn the pocket square vertically and get a rubber band.
 Tightly wrap the rubber band around the lower portion of the pocket squares.
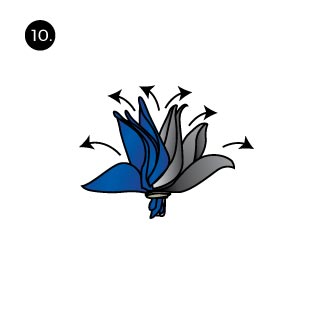 Now fan open each of the pocket square leafs.
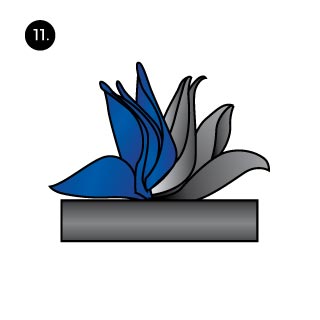 At last, place the pocket square into your breast pocket and give it some final styling to your liking.

 Lay both pocket squraes flat.
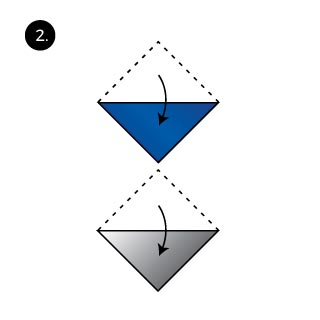 Fold both pocket squares in half to create two triangles.
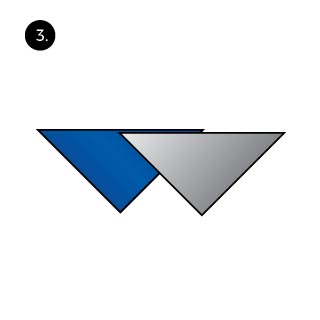 Now place one triangle over the other so that the corner of the top triangle ends near the center of the beneath triangle. The bottom pocket square should also be visible along the long side.
 Wrap the top pocket square by folding the other pocket square in half. Fold so that the top of each square is showing.
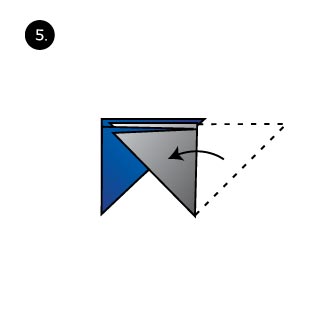 Now fold over the other pocket square. Again, the top of the pocket square should be visible.
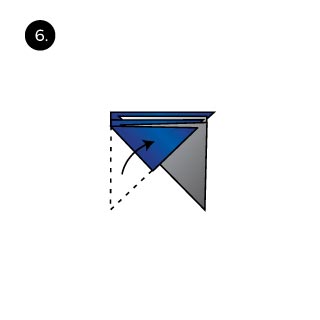 And one more time: Fold in the bottom pocket square.
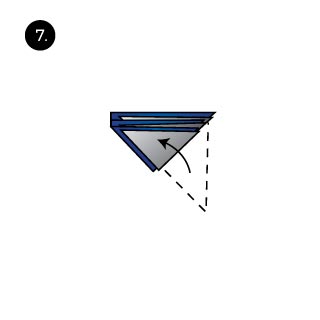 Again, fold in the other pocket square.
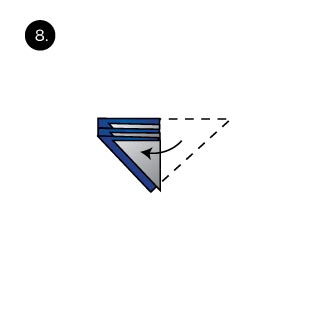 Now fold the entire fold in half along the center.
 Fold back the left corner to give it a shape of a soft serve ice cream cone.
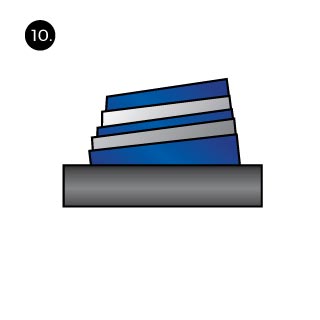 At last, place the fold into your breast pocket. Give it some final styling to your liking.
 Lay the pocket square down flat.
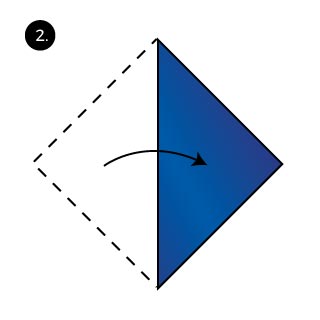 Fold in half to create a triangle.
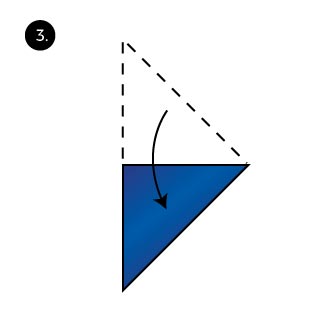 Fold in half again to create a smaller triangle.
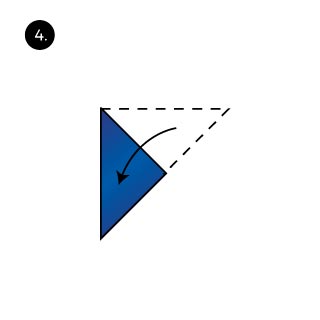 And fold in half for a third time to make the triangle even smaller.
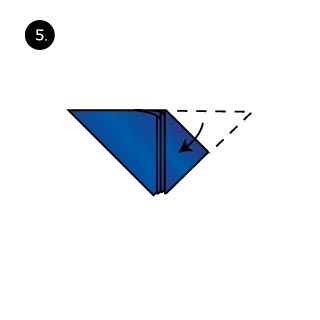 Now fold down one of the wings.
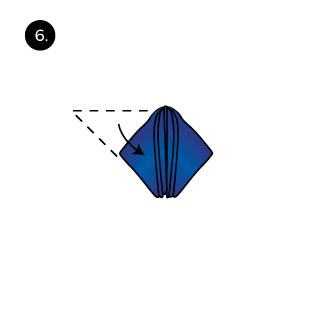 Fold down the opposite wing. The pocket square has a rectangular shape again.
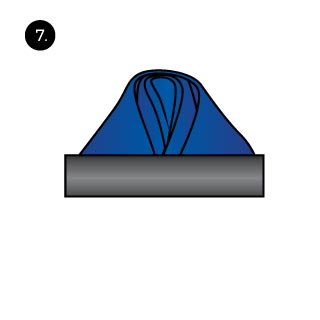 At last, place the pocket square into your breast pocket.
 Lay both pocket squares down flat.
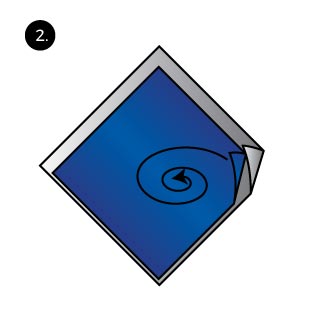 Place the pocket square you want on the inner part on top of the other pocket square. Make sure that the lower pocket squares shows about 1/2 inch on two sides.
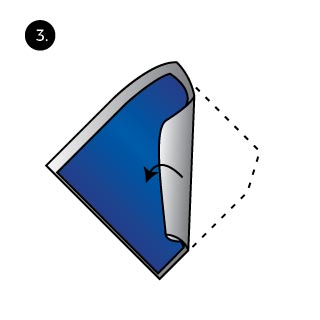 Now start rolling both pocket squares from one corner until you reach the center line.
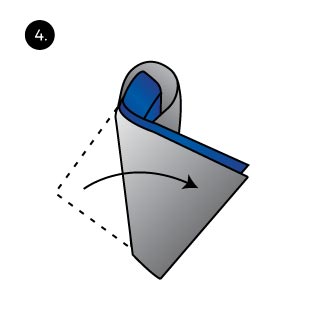 Now turn the pocket square over.
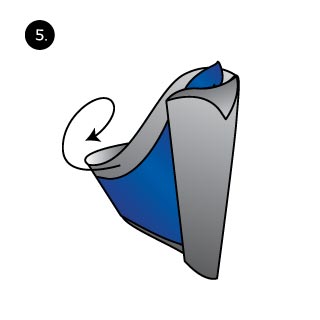 Next, roll the loose end in the opposite direction as the other roll.
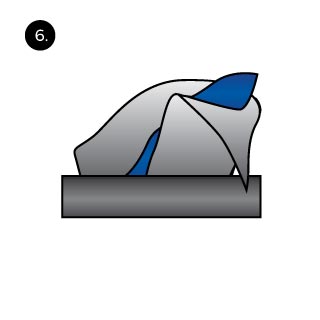 At last place the pocket square into your breast pocket and give it some final styling to your liking.
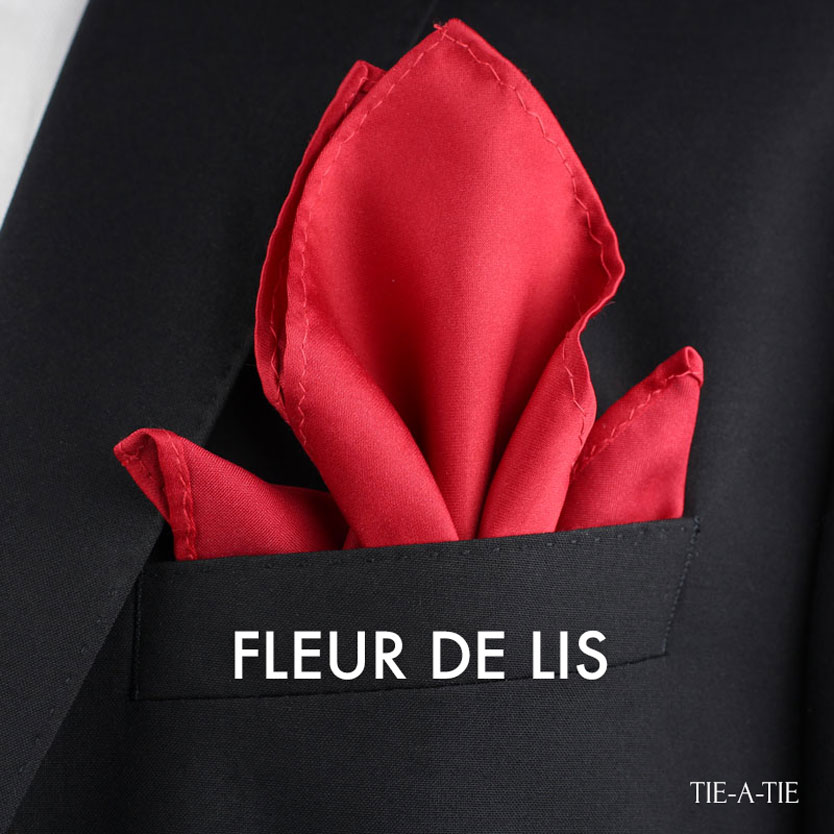
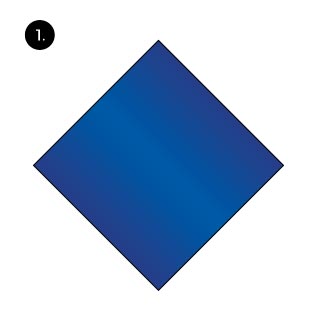
 Lay the pocket square down flat.
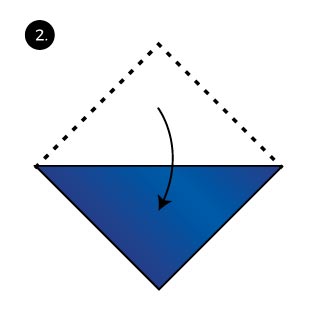 Fold in half to create a triangle.
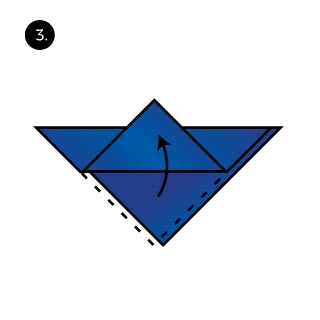 Fold one tip up just above the base of the triangle.
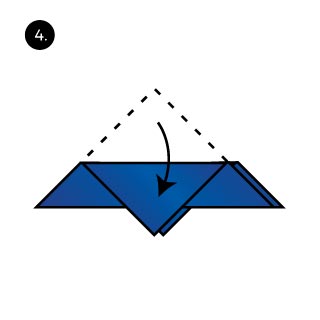 Next, turn the pocket square over and fold up the other tip so it lays exactly over the below lying tip.
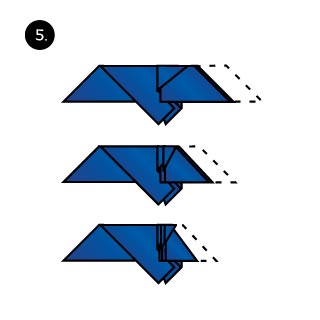 Create a pleated fold from one side. Create 3 pleats.
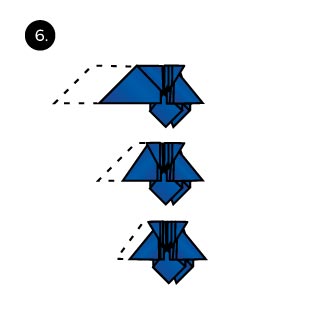 Now do the same on the opposite side.
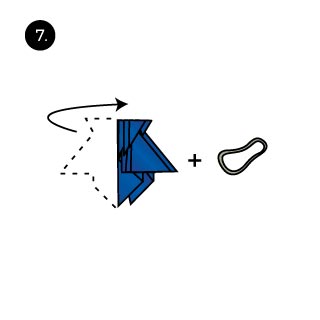 Fold the pocket square in half along the center line.
 Take a rubber band and tightly tie it around the base of the pocket square.
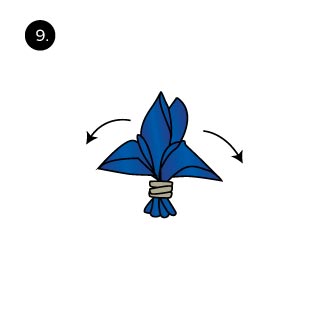 Now spread apart the tips of the lily.
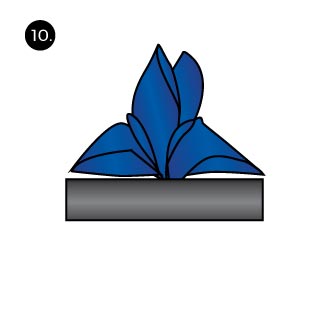 At last, place the pocket square into your breast pocket.
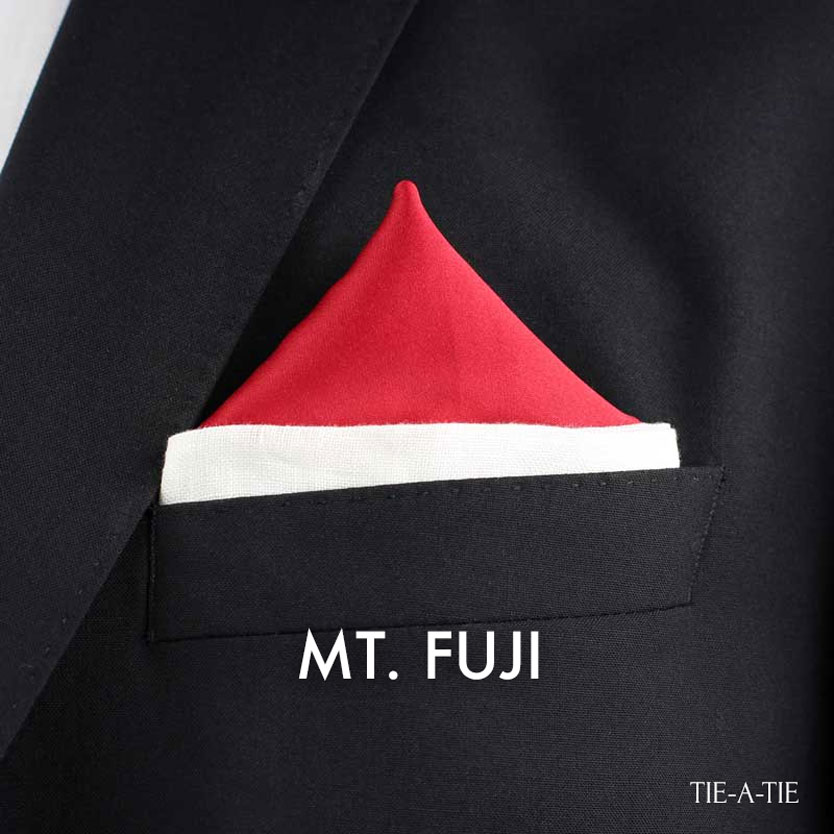
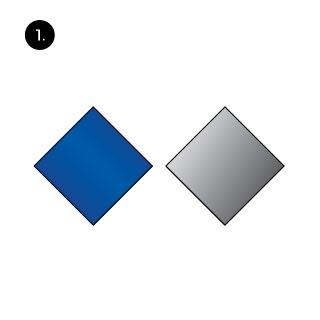
 Lay both pocket squares down flat.
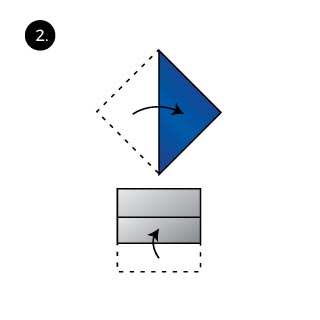 Fold the pocket square that creates the mountain into a triangle. The other pocket square gets folded in a narrow and long rectangle.
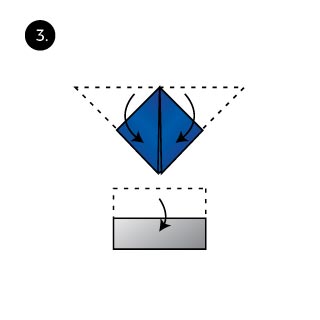 Fold down the wings of the triangle. The other pocket square gets another fold as well to create an even longer rectangle.
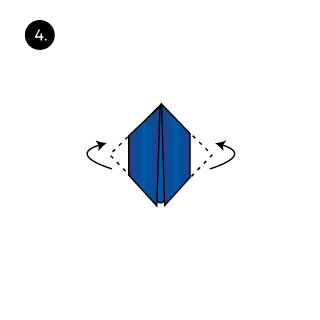 Fold in the sides of the pocket square that creates the mountain.
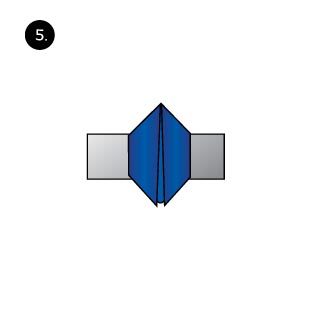 Place this pocket square on top of the long rectangle. Center it along the middle.
 Wrap the pocket square that creates the mountain with the other pocket square by folding in the sides.
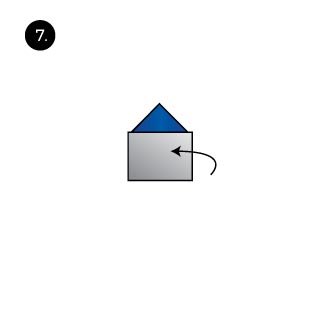 Turn the pocket square over so that all folds are hidden on the back side.
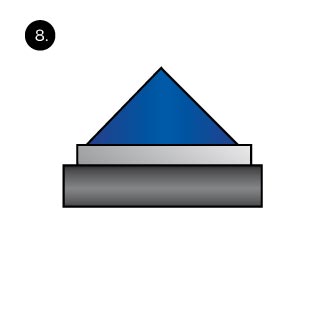 Tug the pocket square into your breast pocket so that both pocket squares are visible.
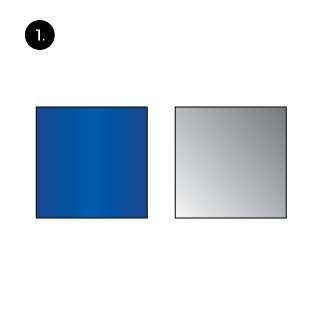
 Start out with 2 pocket squares. Lay the both down on a flat surface.
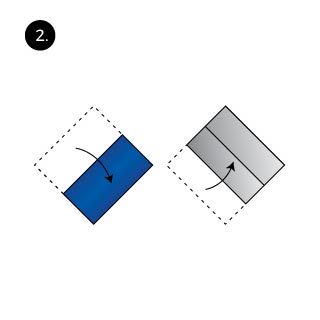 Fold the first pocket square exactly in half. The other pocket square gets folded in thirds.
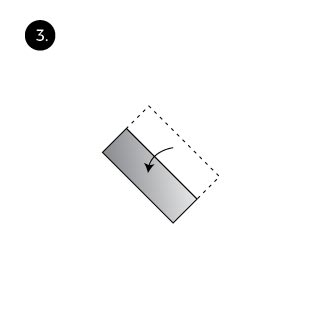 Here I a showing the white pocket square getting folded into a third of the original width.
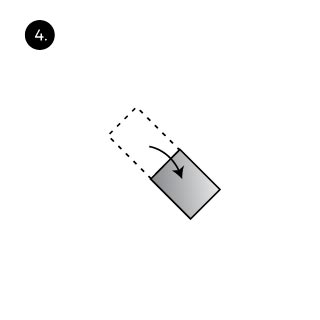 Fold the long rectangle in half.
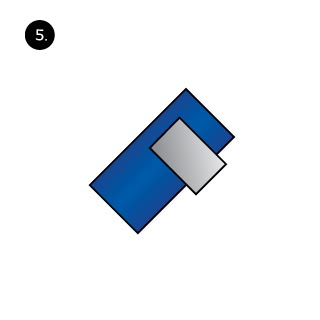 Now place the white pocket square on top of the blue one. Place it about a third from one end.
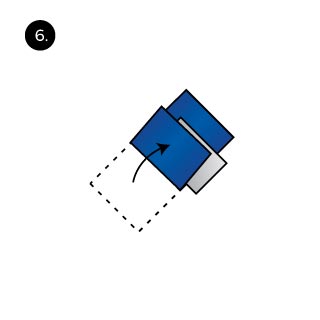 Wrap the white pocket square by folding in the longer end of the blue pocket square.
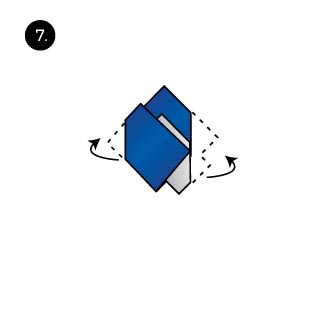 Now fold in both ends to make the pocket square equal in width of your breast pocket.
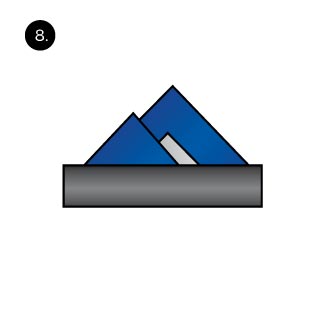 At last, place the pocket square in your breast pocket.
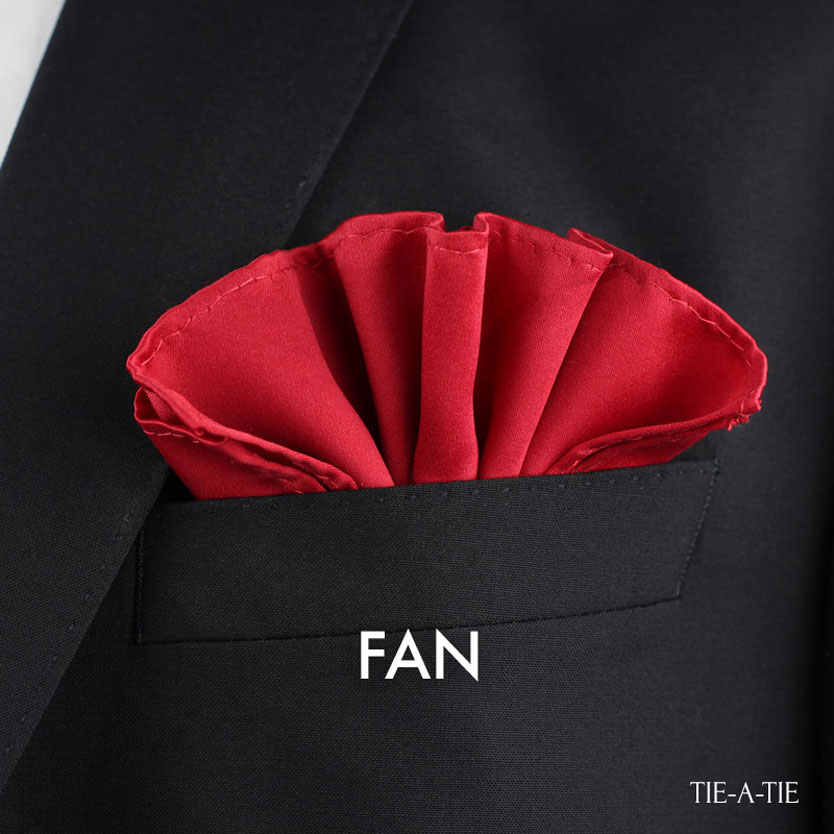
 Lay the pocket square down flat.
 Fold in half to create a rectangle
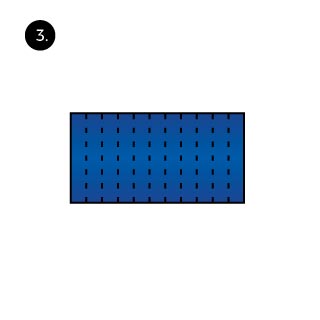 Fold in the pleats so that they are 1/2 to 1 inch spaced apart. Make sure to press down firm on each fold.
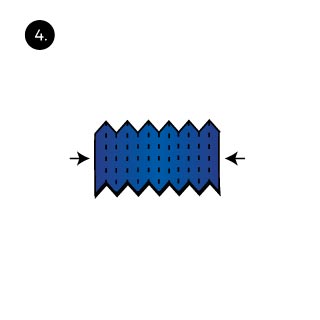 Now bunch up the pocket square like an accordion.
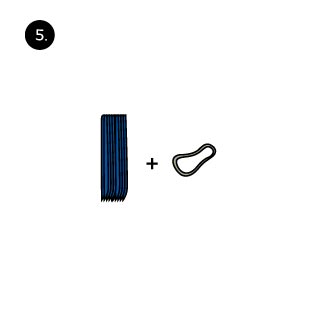 Hold the fold in place with a rubber band about 1/3 down towards the bottom.
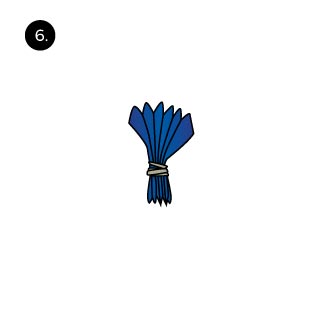 Now spread open the fan
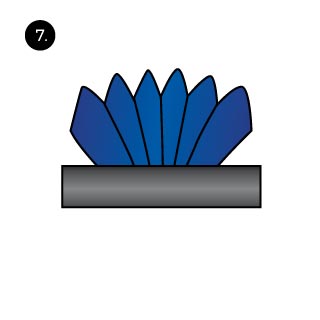 At last place the pocket square in your breast pocket.
 Lay the pocket square down flat.
 Fold in half to create a triangle.
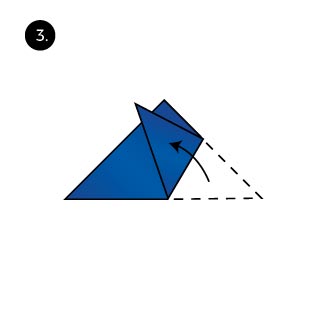 Fold in one corner to create a 2nd tip at the top.
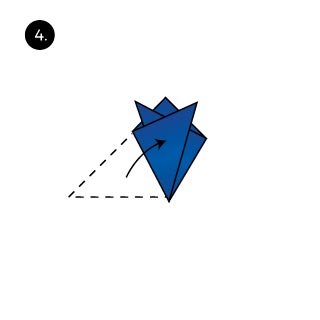 Now fold in the other side to create a 3rd tip at the top.
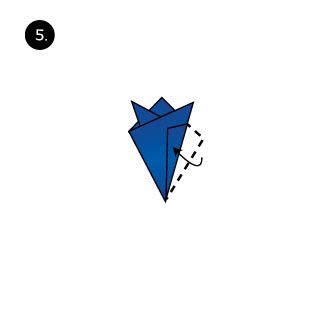 Fold in the right side again to narrow the pocket square and to make it more pointy.
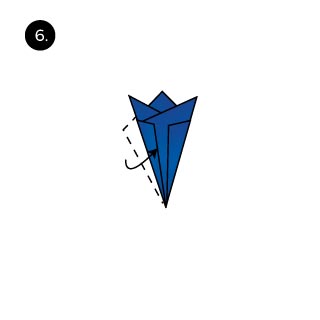 Now do the same with the opposite side.
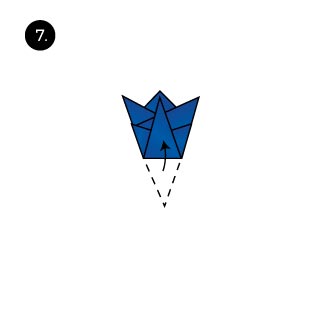 Now fold up the bottom corner to create the 4th tip that sits at the center.
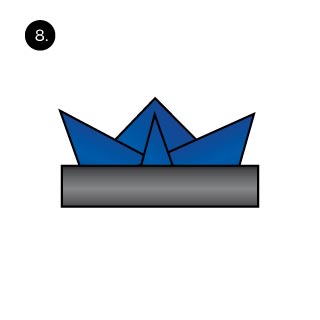 Lastly place the pocket square in your breast pocket.
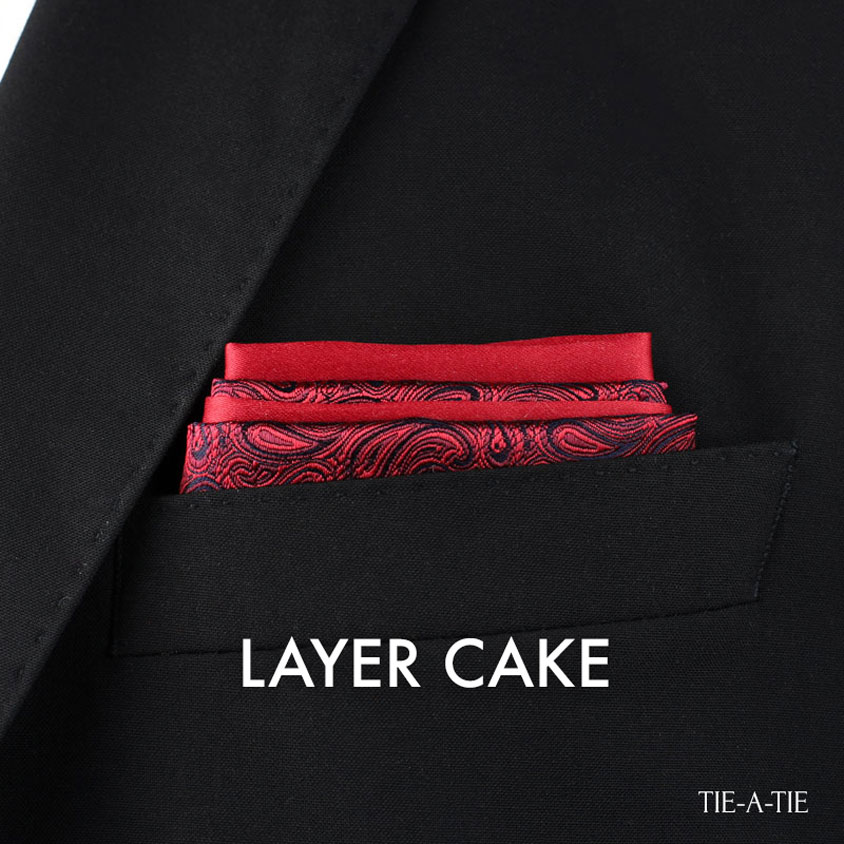
 Lay both pocket squares flat.
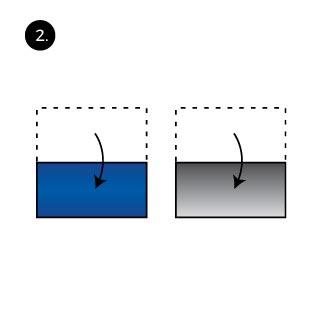 Fold both pocket squares in half to creat two separate rectangles.
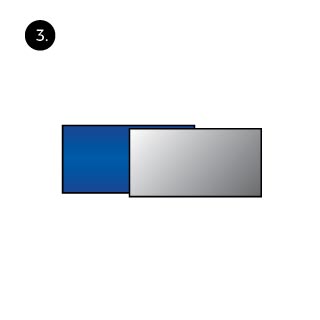 Now lay one pocket square over the other. The below pocket square should be visible at the top. This creates the first layer.
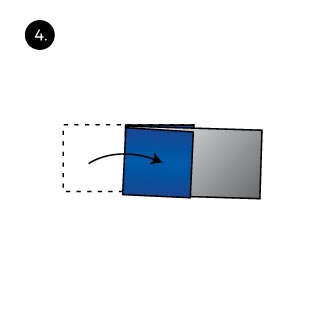 Now create another layer by folding the other side over at a slight angle.
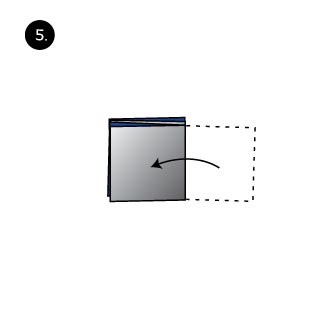 To create the final layer fold over the opposite side again at a slight angle.
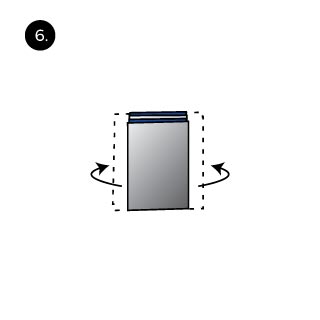 Because most pocket squares will still eb too wide to fit into your breast pocket, fold enough of each side back so that the width fits your breast pocket.
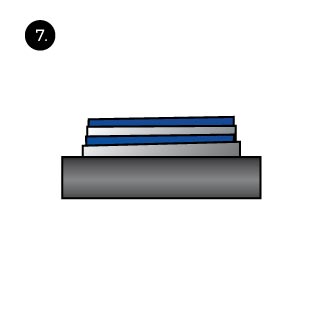 As a final step, carefully tug the fold into your breast pocket.