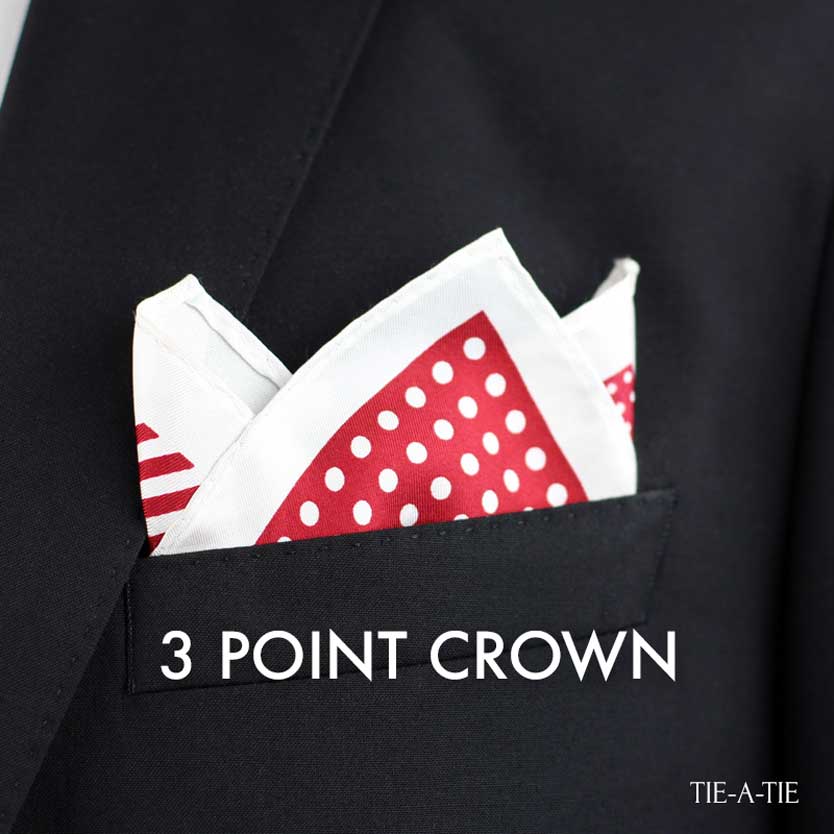
If the “4-Point Crown” is a bit too flashy for your taste, then the “3-Point Crown” fold shown here may be perfect. It is classic, timeless, and understated. It suits all solid colored pocket squares. I like this fold for a solid white pocket square when I am wearing my formal double breasted tuxedo. Here is how to create this fold:
3-Point Crown Pocket Square Fold Step-by-Step:
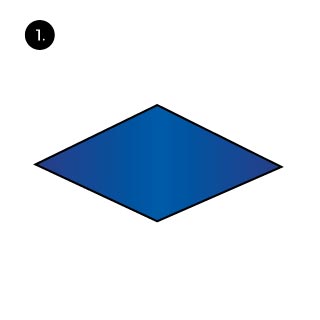
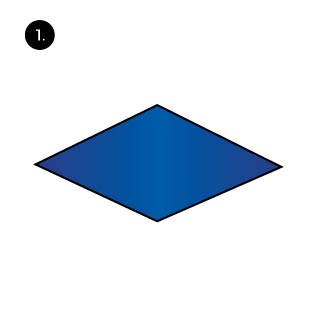
 Lay the hanky down flat.
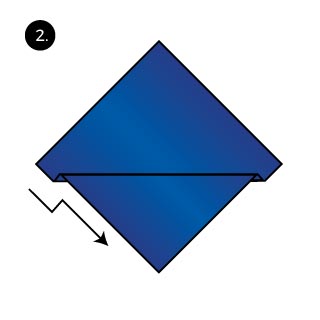
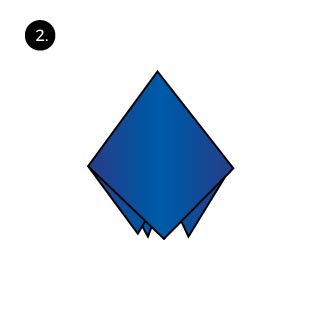
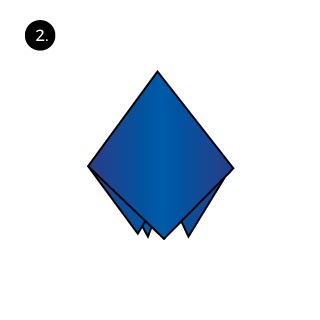
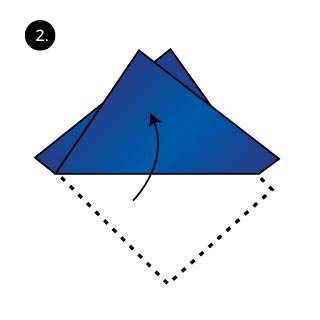 Fold one corner up so that two tips are showing at the top.
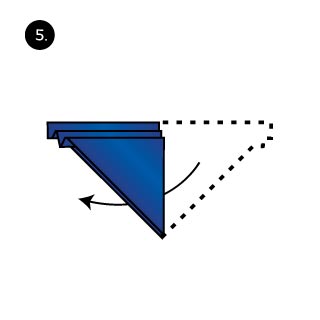
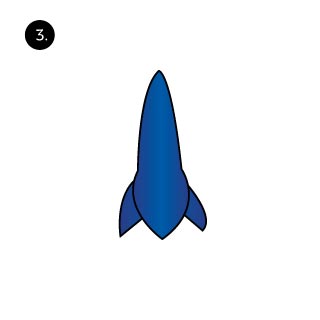
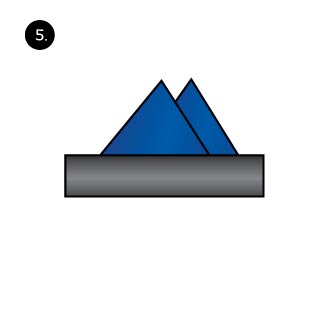
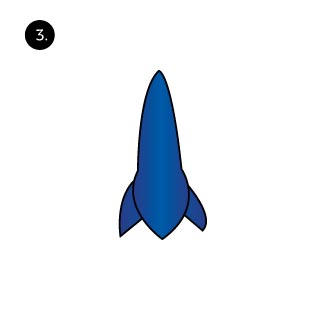
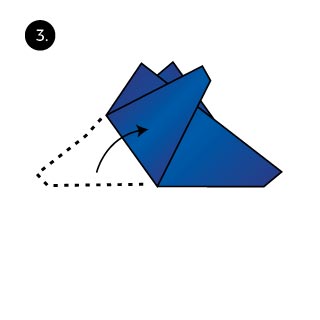 Now fold the left side over to the right to create the tip, completing the crown.
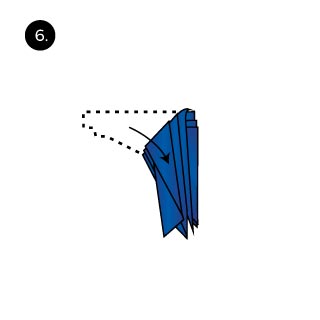
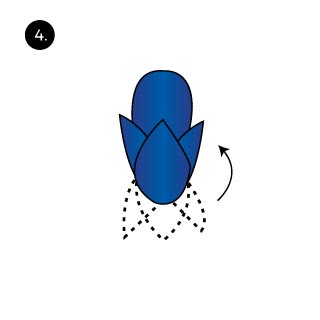
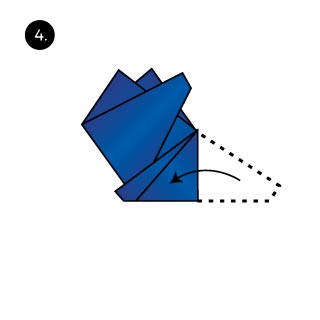 Fold in the left side to create the base that will be sitting inside your breast pocket.
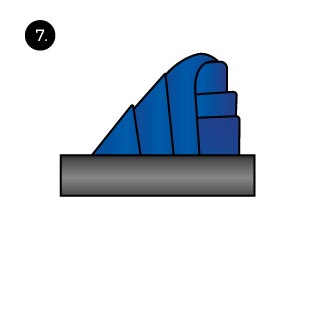
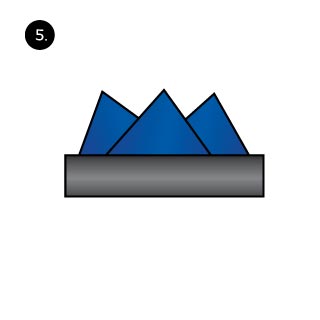 Last, place the pocket square into your breast pocket.

 First, lay the pocket square on a flat surface. Make sure it is clean and wrinkle free.
 Next, just below the half way line fold the pocket square. Fold up and then back down to create a pleat.
 Create a second pleat by folding up, and then back down again. Continue this accordion-like fold all the way until you reach the bottom corner of the pocket square.
 Next, turn the pocket square over. The tip should now be facing towards you.
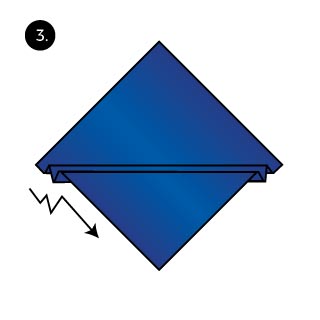
 Now fold the pocket square in half to create a smaller triangle.
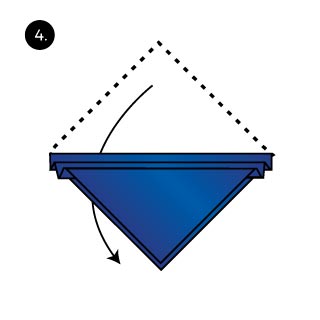
 Next fold down one side at a 45 degree angle.
 As a final step, place the pocket square into your breast pocket.

 Lay your pocket square down flat.
 Pick up the pocket square by pinching near the center with two fingers.
 Slide the pocket square through your other hand.
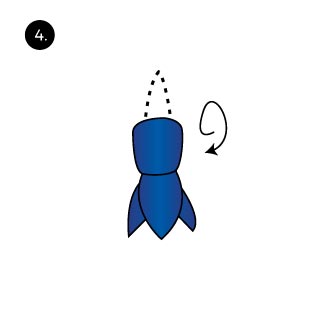 Fold the closed side up to create a base that will sit inside your breast pocket.
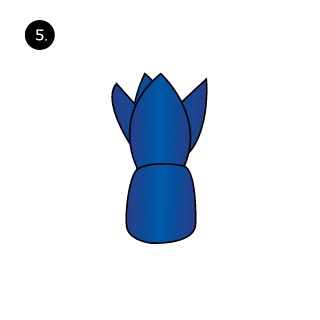 Turn the pocket square around with the tips facing up.
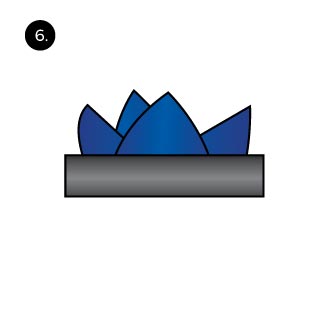 Last, tug the pocket square into your breast pocket. Style to your liking by pulling on the tips until satisfied.
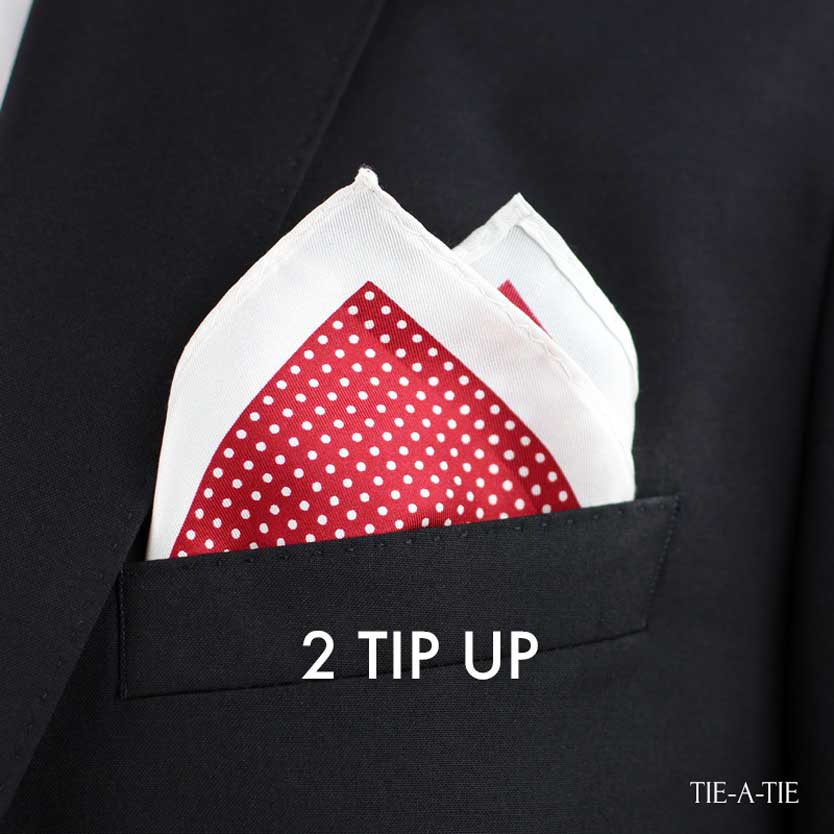
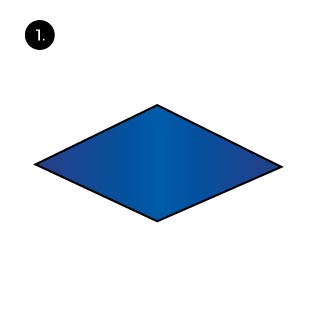 Lay the pocket square flat. I suggest to iron it first.
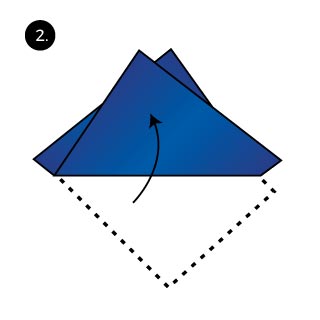 Fold so that it creates two overlapping triangles. This creates the 2 tips that will be showing out of your breast pocket.
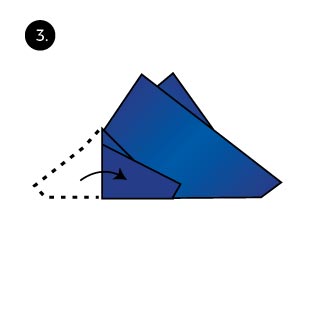 Now create the base by folding one side in.
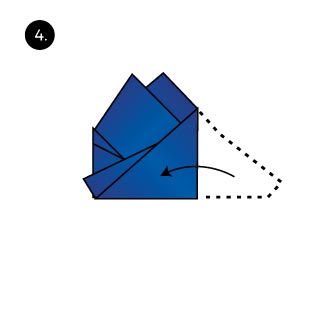 Do the same with the opposite side. The fold is complete.
 As a final step, tug the folded pocket square into your breast pocket.
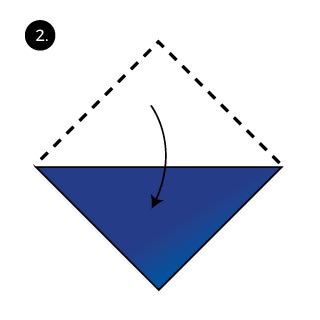
 As with all folds, lay the pocket square down flat.
 Fold one corner in to create an even triangle.
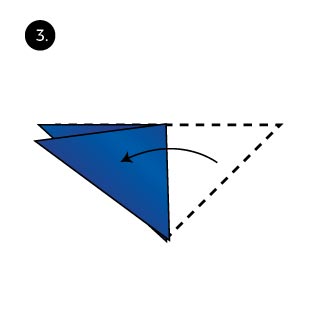 Fold one side over so that two corners are showing.
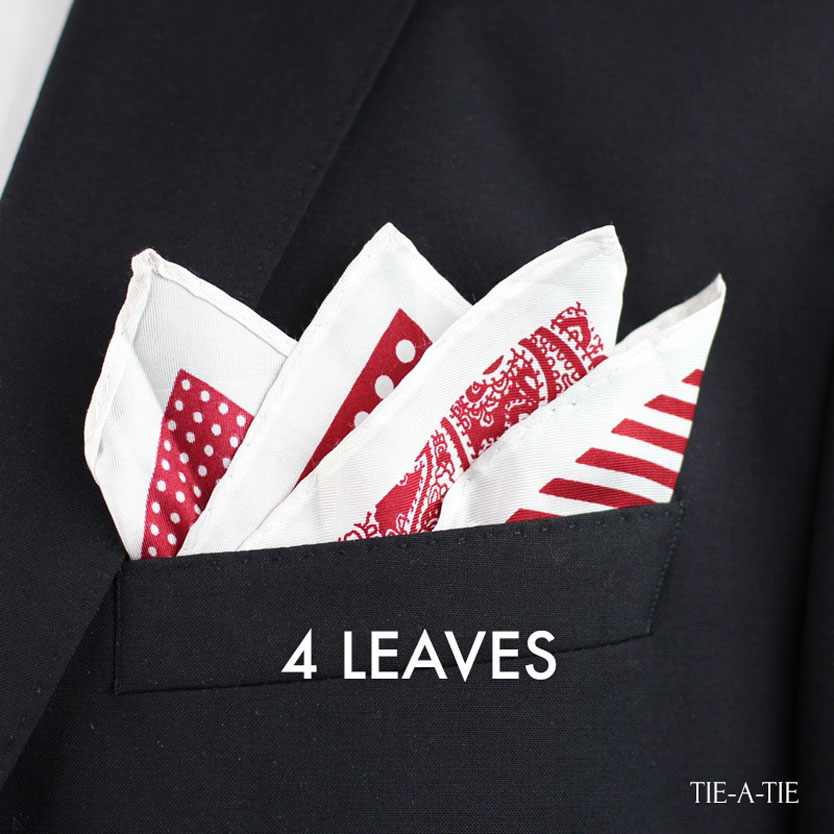
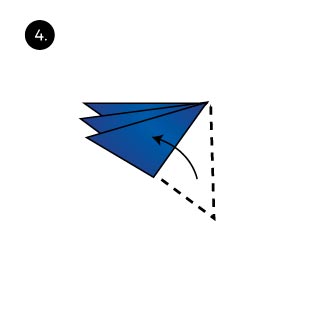 Fold over again to create the 3rd “leaf”.
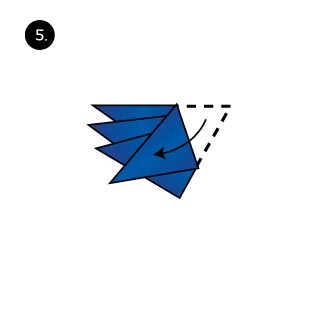 Then fold in the corner opposite from the leaves. This create the 4th leaf.
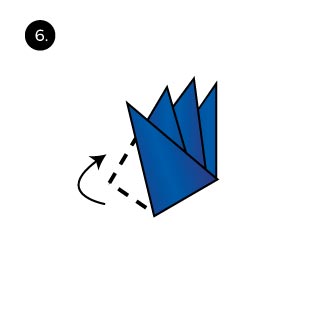 Turn the pocket square. The fold is complete.
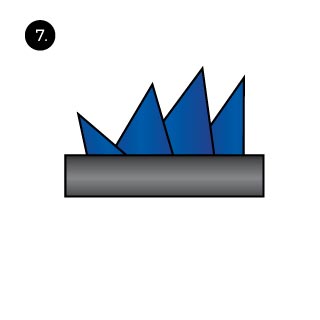 Last, place the folded pocket square in your breast pocket so that the leaves point out. Style to your liking.

 Lay the pocket square down flat.
 Pinch the center of the pocket square with two fingers and pick it up.
 Slide the pocket square through your other hand so that the four ends hang down evenly.
 Now fold up the four tips to reduce the height of the completed fold.
 Last, place the pocket square into your breast pocket and style to your liking. The more of the pocket square is visible, the bolder the statement.
 As with all pocket square folds, lay the pocket square down flat.
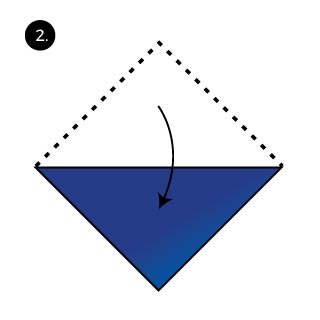 Fold one corner down to create an even triangle.
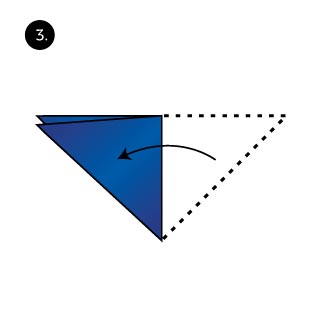 Fold one side in so that it ends just below the other side.
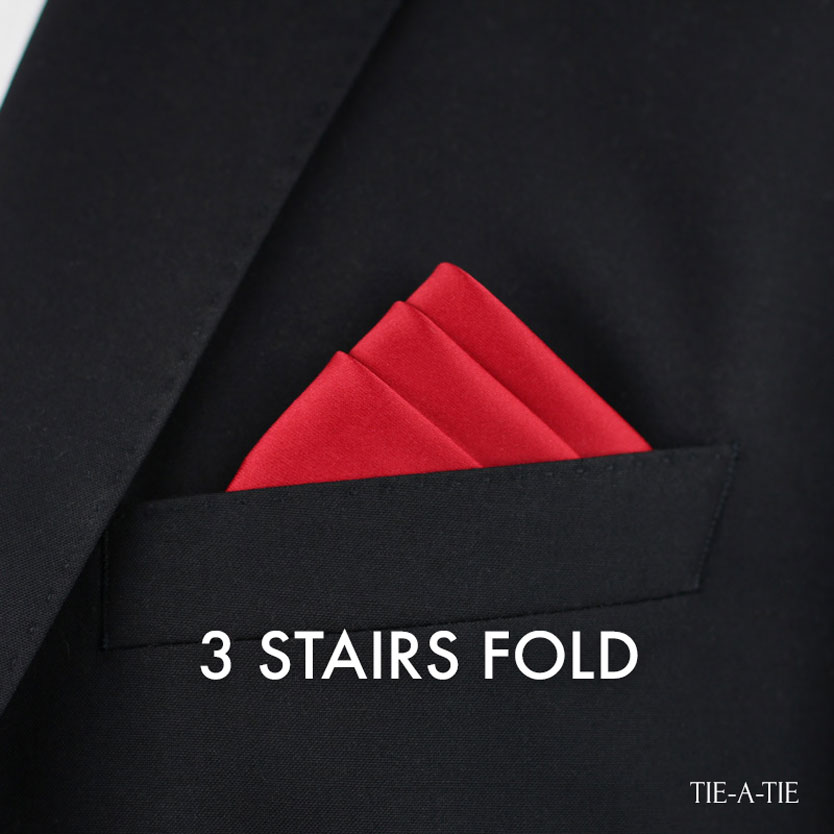
 Fold in again. Now 3 corners should be showing.
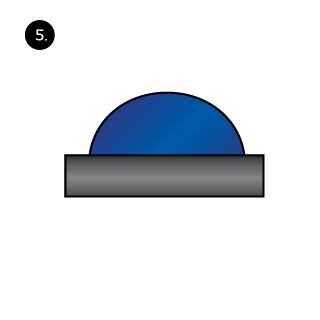
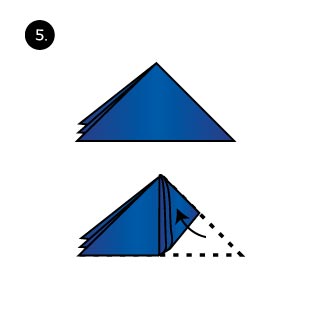 Turn the pocket square so the long side of the triangle faces towards you. Then fold the closed side up.
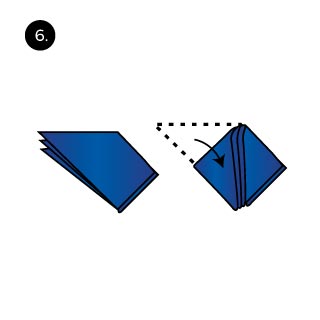 Turn the pocket square over and have the tip face towards you. Then fold the side that has the corners shown down.
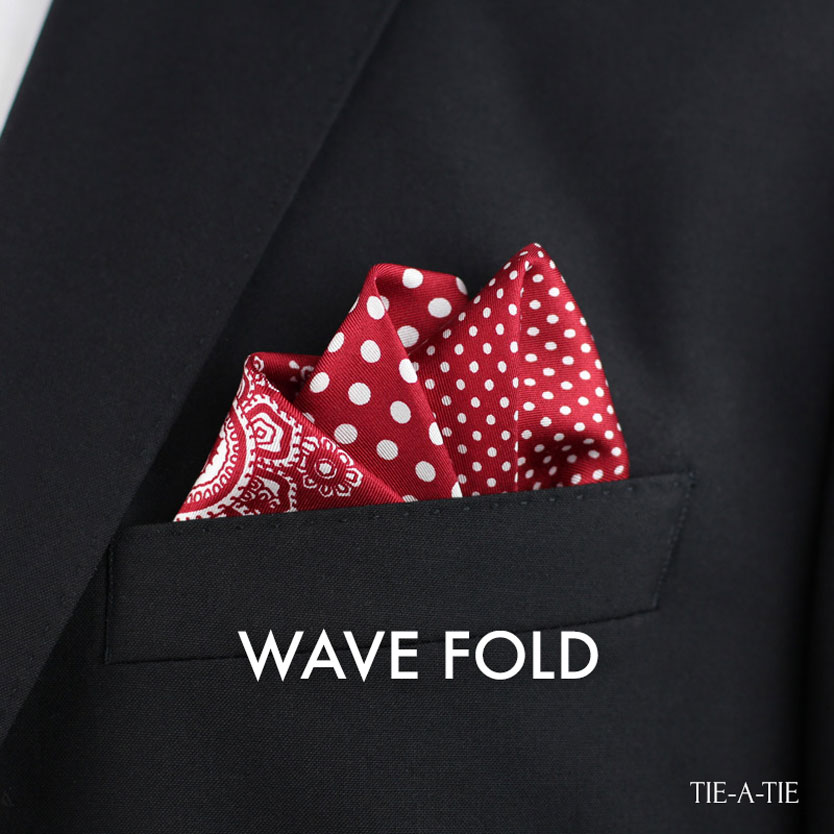
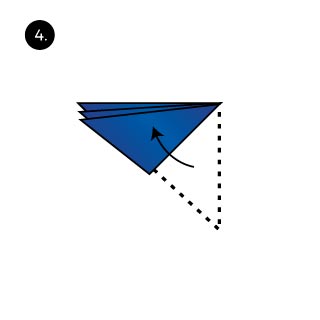
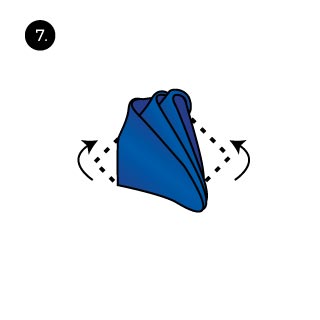 Fold it in half again so that the “waves” become visible.
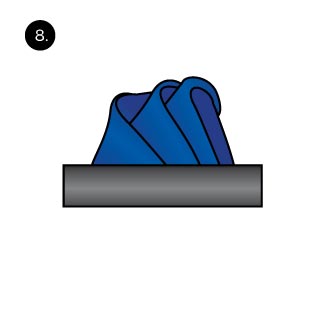 Last, place the folded pocket square into your breast pocket.
 Lay the pocket square down flat. Make sure it is free of wrinkles.
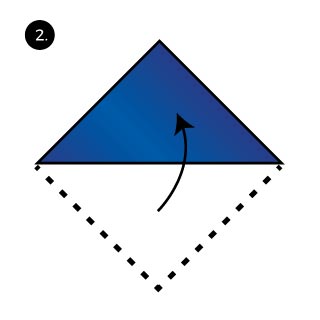 Fold in half to create a triangle.
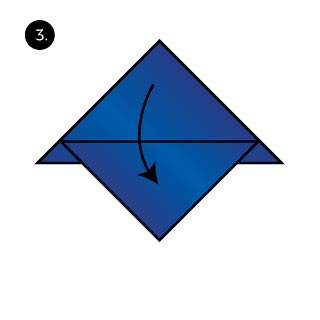 Create accordion like pleats by folding a portion of the triangle up, then back down. Make sure the folds stay in place by pressing down with the palm of your hand.
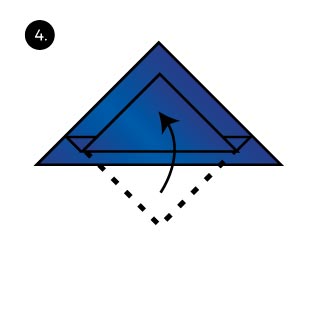 Continue to create pleats. Make sure that about 1/2 inch shows from the pleat below.
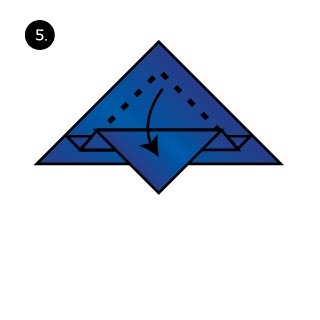 And create yet another pleat.
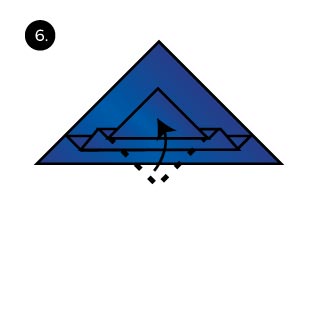 Now fold to create the 3rd and final pleat.
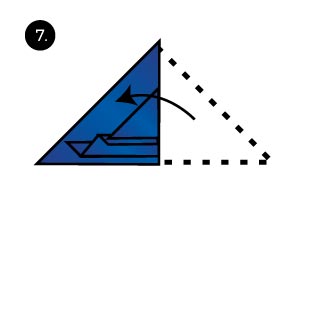 Fold the trinangle in half at the center.
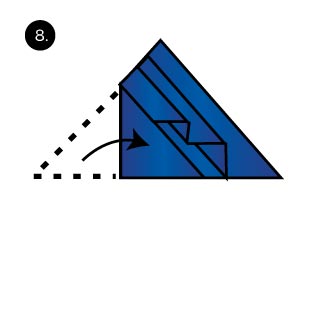 Now fold one side over.
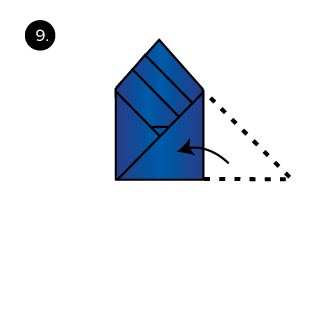 Do the same with the opposite side.
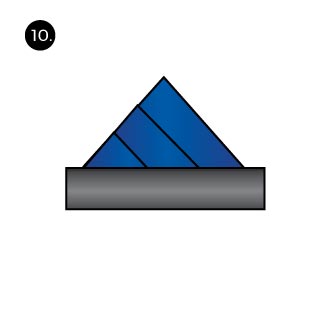 At last tug the pocket square into your breast pocket.

 Lay the pocket square flat down.
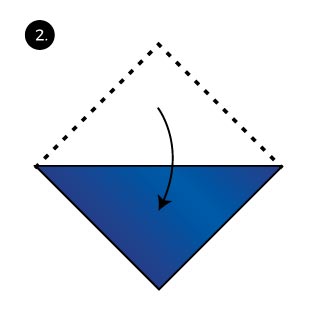 Fold one side over to create an even triangle.
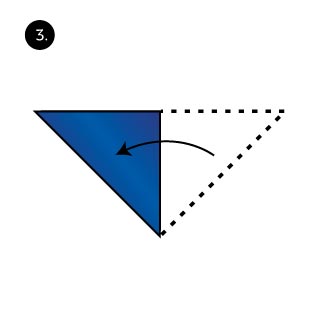 Now fod one side over to create a smaller triangle.
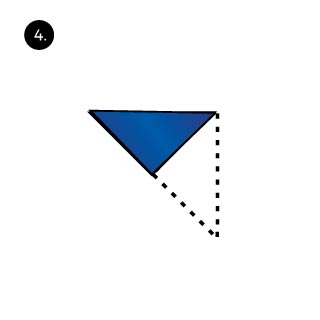 And fold over again. The triangle gets smaller again.
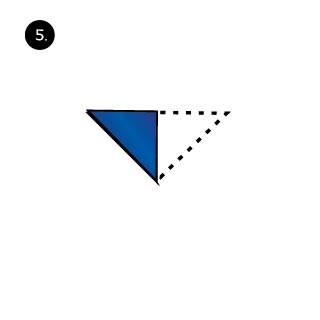 Depending on the size of the pocket square, you may want to fold the triangle in half again.
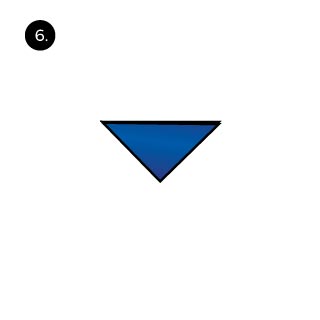 Now turn the pocket square so that the long edge faces up. The fold is complete.
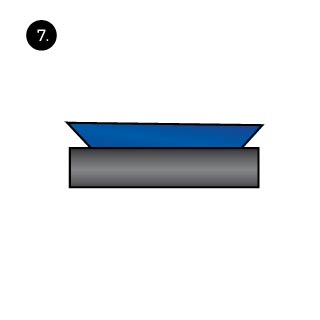 Last, place the pocket square into your breast pocket. That’s all!

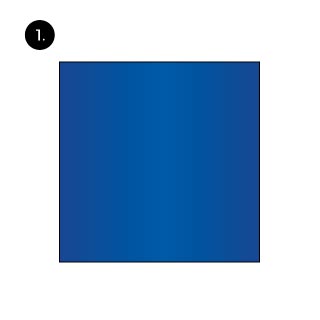 Lay your favorite pocket square on a flat surface.
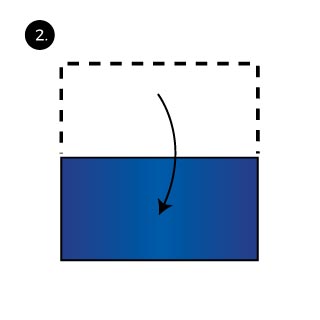 Fold it in half along the center to create two overlapping rectangles.
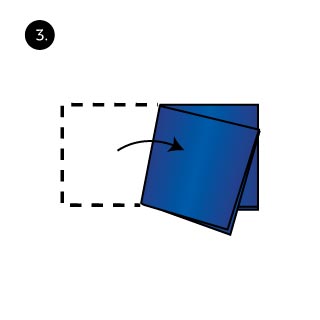 Fold one side over so that two rectangles are showing on one side.
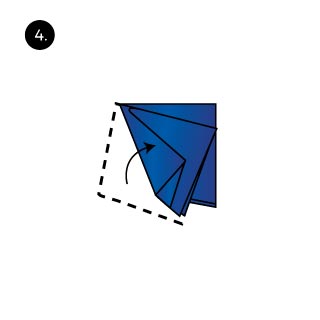 Fold over from the same side again. Now it should look like 3 overlapping triangles.
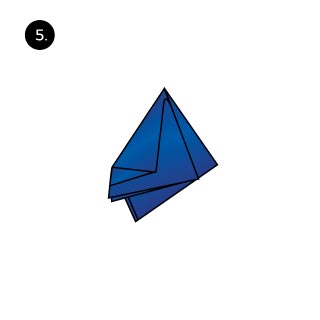 Now turn the pocket square so the tip faces up. It is now ready to be tugged into your breast pocket.
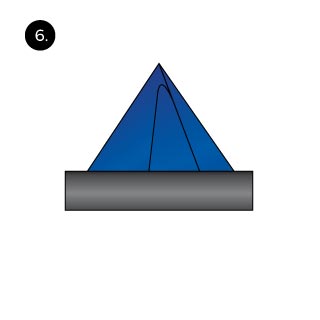 Finally, this is what the fold looks like when tugged into your jacket’s breast pocket.

