
The “Shell Fold” is a neat and unique way to style your pocket squares. It looks fantastic with wild patterned, and brightly colored pocket squares, and it also is best suited for oversized pocket squares (larger than 13″ x 13″) that are made from fine silk. It is actually similar in look, yet quite a bit more elaborate, to the Puff Fold. Here is how you create the shell pocket square fold:
The Shell Pocket Square Fold Step-by-Step:
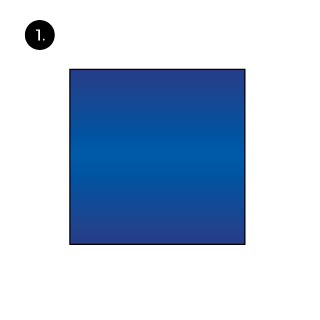
 Lay the pocket square down flat.
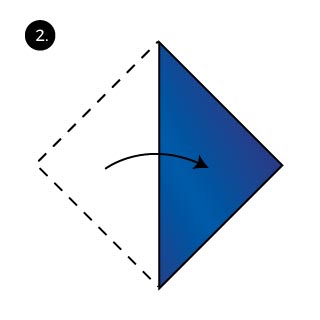 Fold in half to create a triangle.
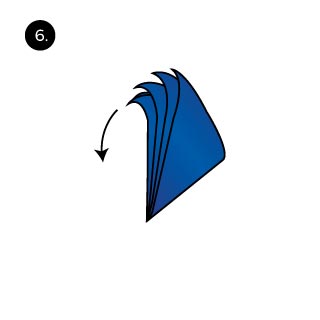
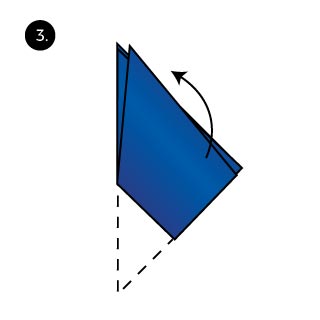 Fold one corner up so that it sits next to the other corner.
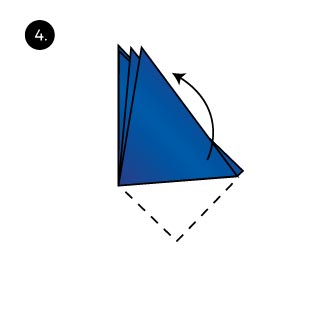 Fold the bottom corner up again to create a 3rd tip.
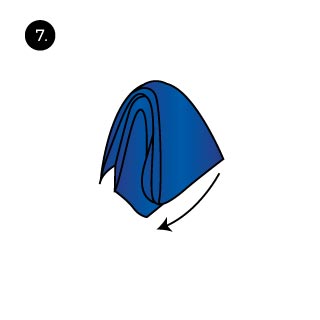
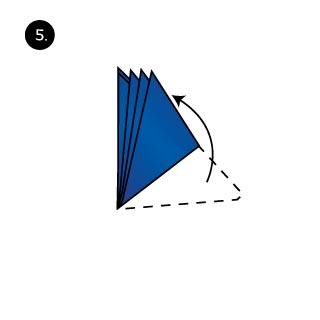 Fold for a fourth time to create a 4th tip.
 Now bend the pocket square from the four tips.
 Bend all the way to create a half circle.
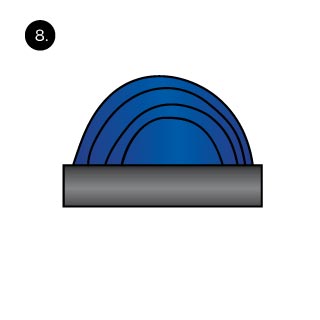 As a final step, tug the pocket square into your breast pocket and give it some final styling to your liking.
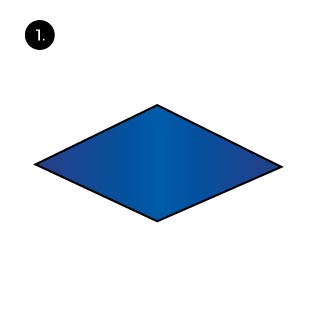
 Lay the pocket square down flat.
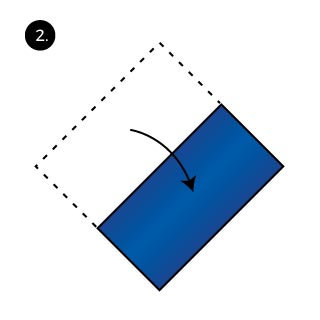 Fold in half at the center.
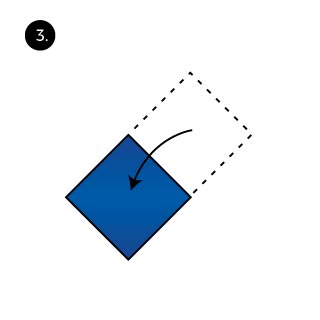 Fold in half again to create a smaller square.
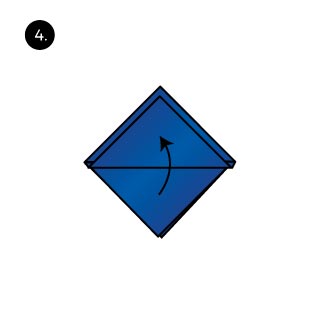 Now fold in one leaf of the open ended corner. Fold just below the other tip at the top.
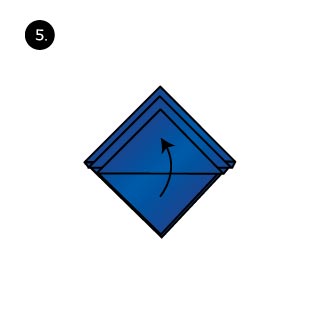 Now fold up the 2nd leaf. Again, fold so that the tip ends below the tip from the last fold.
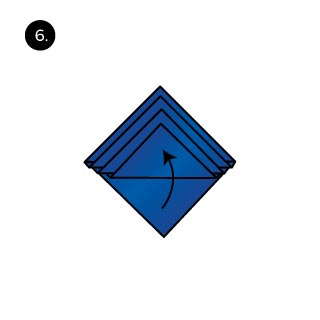 Now fold for a 3rd time.
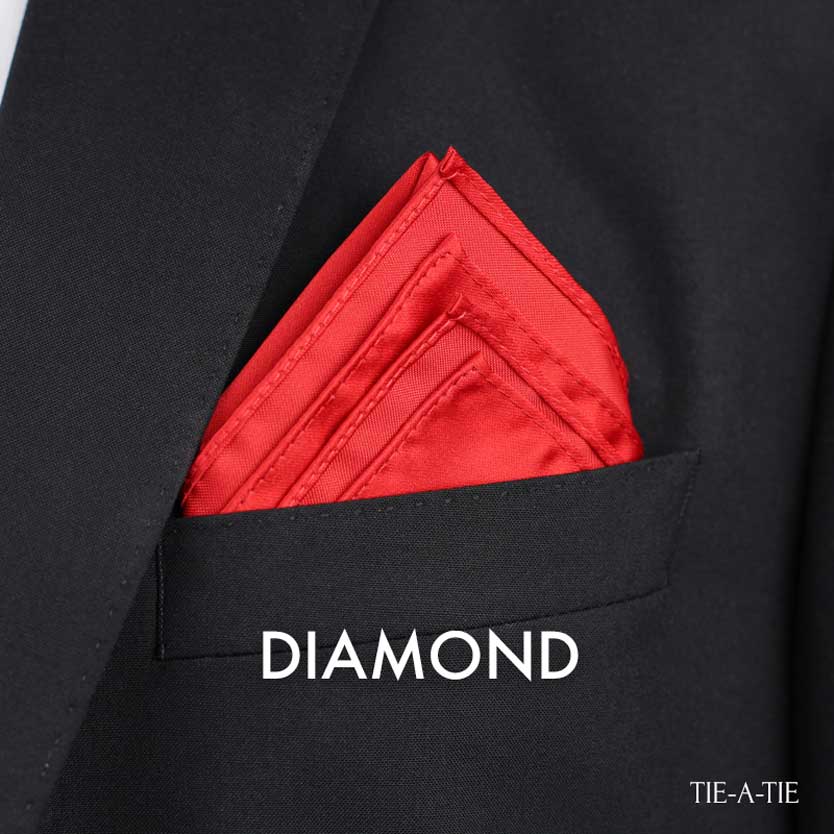
 And finally fold up the last leaf to create the 4th corner of the diamond.
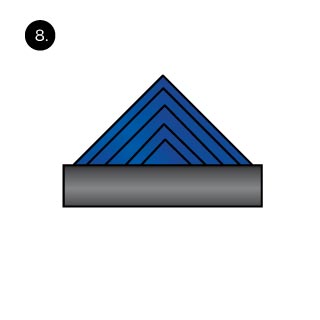 As a final step, tug the pocket square into your breast pocket. If the pocket square is too wide, then fold back each of the sides.
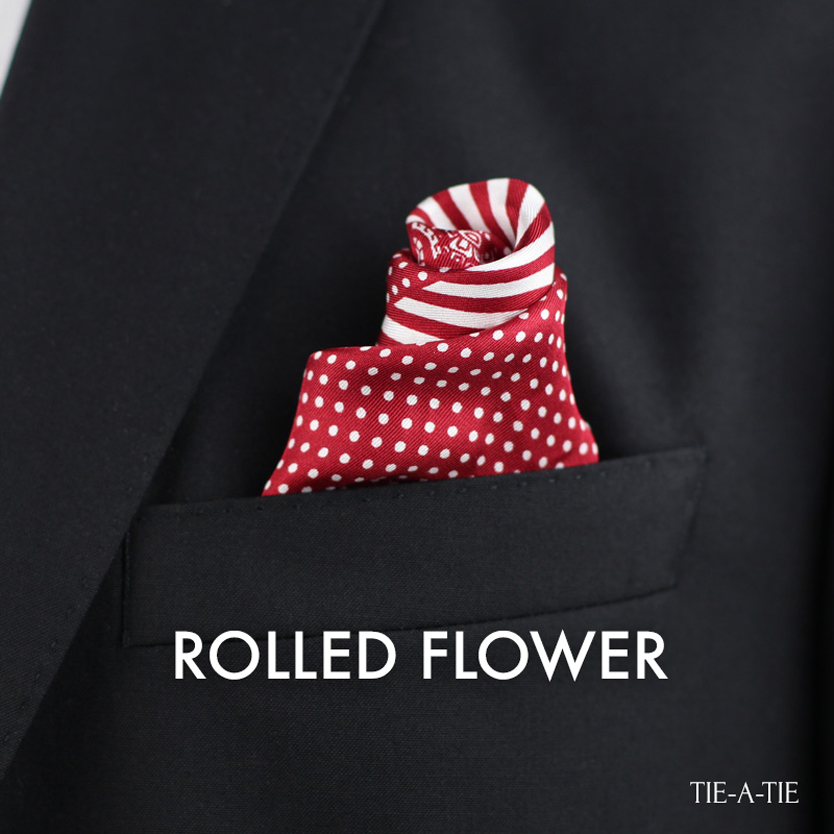
 Lay your pocket square down flat.
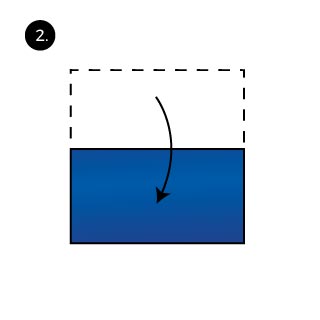 Fold in half to create a rectangle.
 With the closed edge facing up, roll in the pocket square.
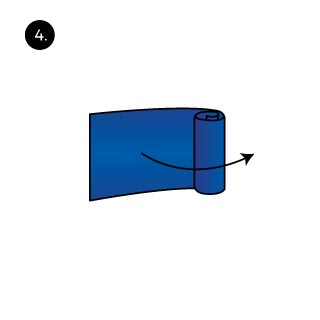 Roll at a slight angle so that the inner tube sticks out a bit.
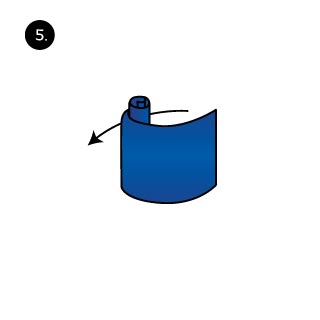 Keep on rolling…
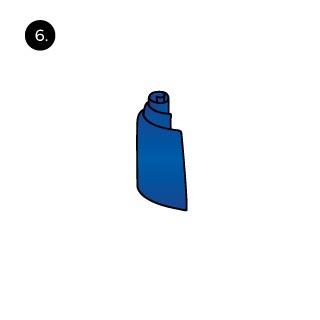 And keep rolling. Make each turn wider than the last to make sure your pocket square gets wider and will take up the entire width of your breast pocket.
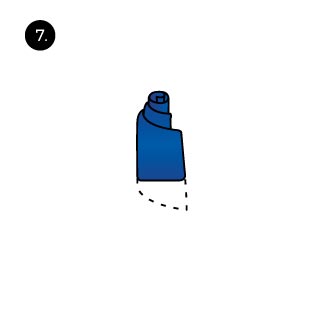 When all rolled up slightly press down to flatten the pocket square just a bit.
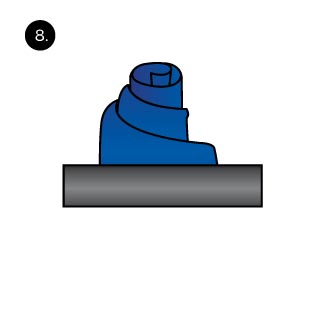 As a final step, tug the pocket square in your breast pocket. The flower should be sticking out and should be wider than the part tugged inside your breast pocket.
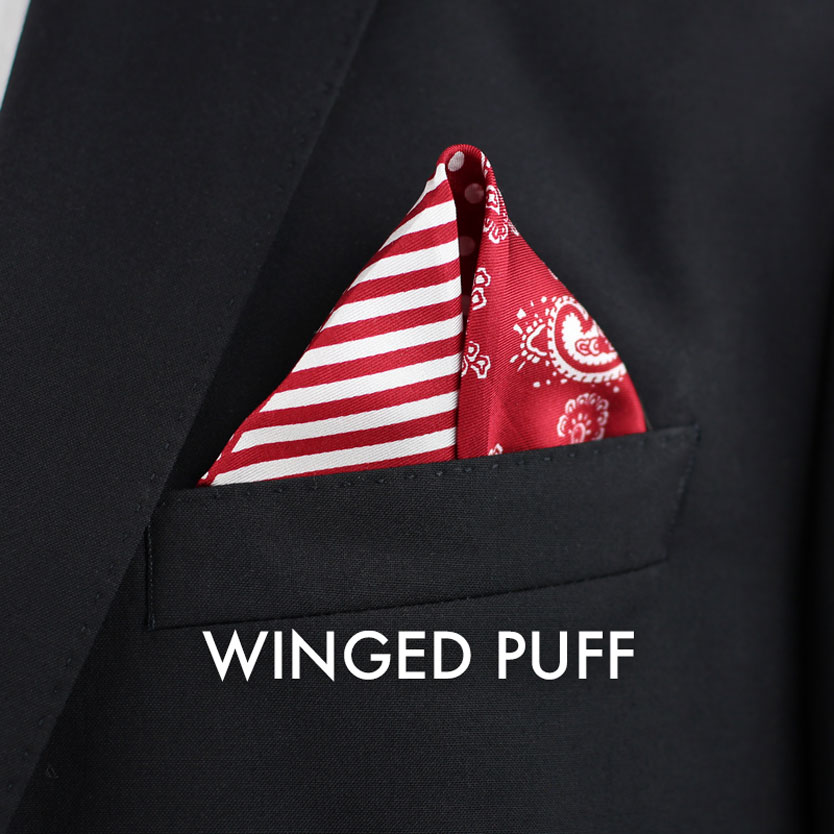
 Lay the pocket square down flat.
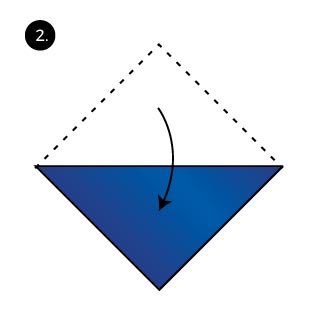 Fold in from one tip to create a triangle.
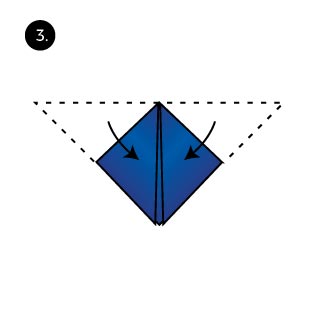 Fold in the left and right tips to create a rectangle.
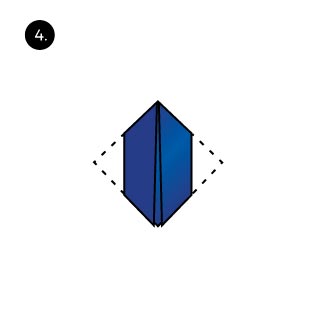 Fold the corners on both sides to the back side. The width should now be as wide as your breast pocket.
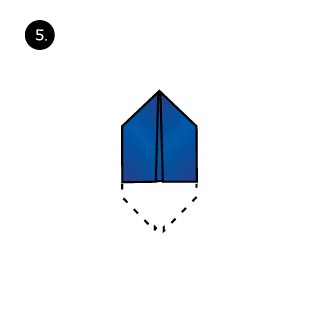 Now also fold back the bottom corner to create the base that will be sitting in your breast pocket.
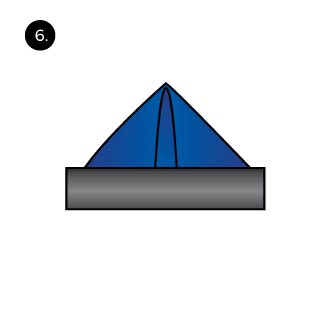 At last, tug the pocket square into your breast pocket. The Winged Puff fold is now complete. Great work!
 Lay your pocket square down flat.
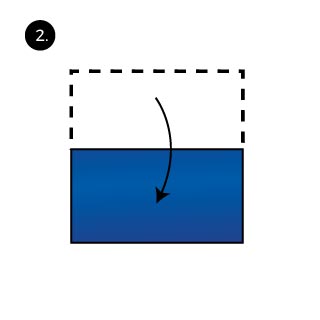 Fold in half to create a rectangle.
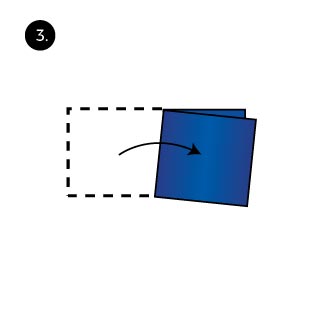 Now fold the left side over to the right to create two overlapping rectangles. Two tips should be showing in the upper right corner.
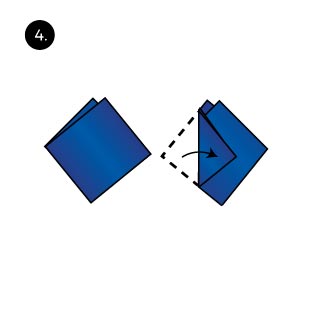 Turn the pocket square so that both tips are facing up. Then fold in the left side.
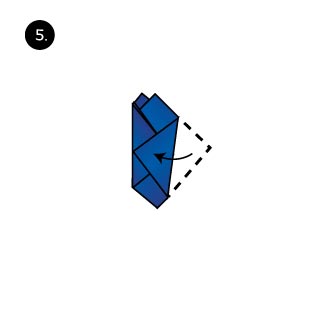 Now fold in the right side.
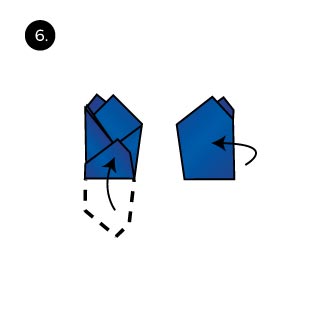 Fold up the bottom to create the base. Then turn the pocket square over.
 As a final step, place the pocket square into your breast pocket.
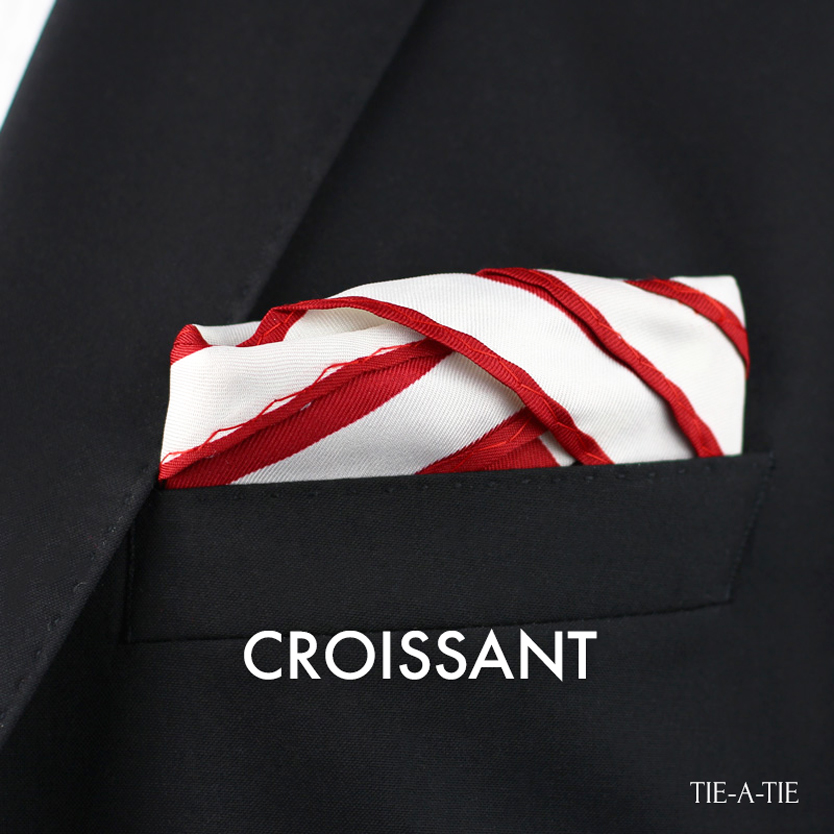
 Lay the pocket square down flat.
 Fold in half to create a rectangle.
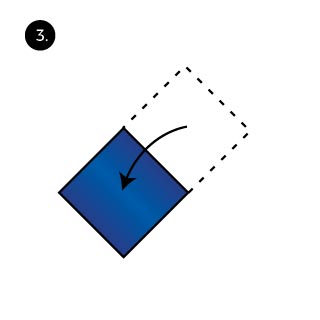 Fold in half again to create a smaller square.
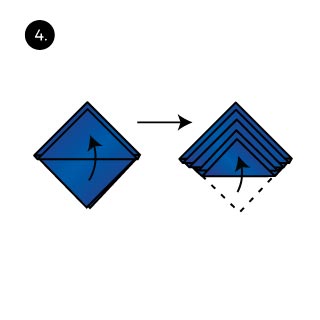 Now fold up the 4 tips. Start with the top and fold up all 4 tips so that each tip ends slightly below the previous one.
 Turn the pocket square over. Next fold the pocket square once again.
 Fold the left side under.
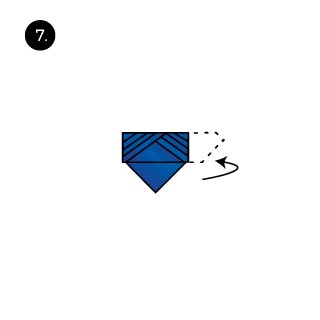 Now fold the right side under.
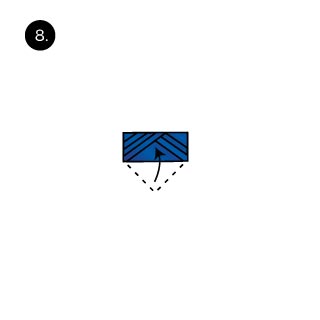 Fold up the loose triangle up and tug under the other folds of the Croissant.
 At last place the pocket square into your breast pocket and proudly display all those fun pleats.
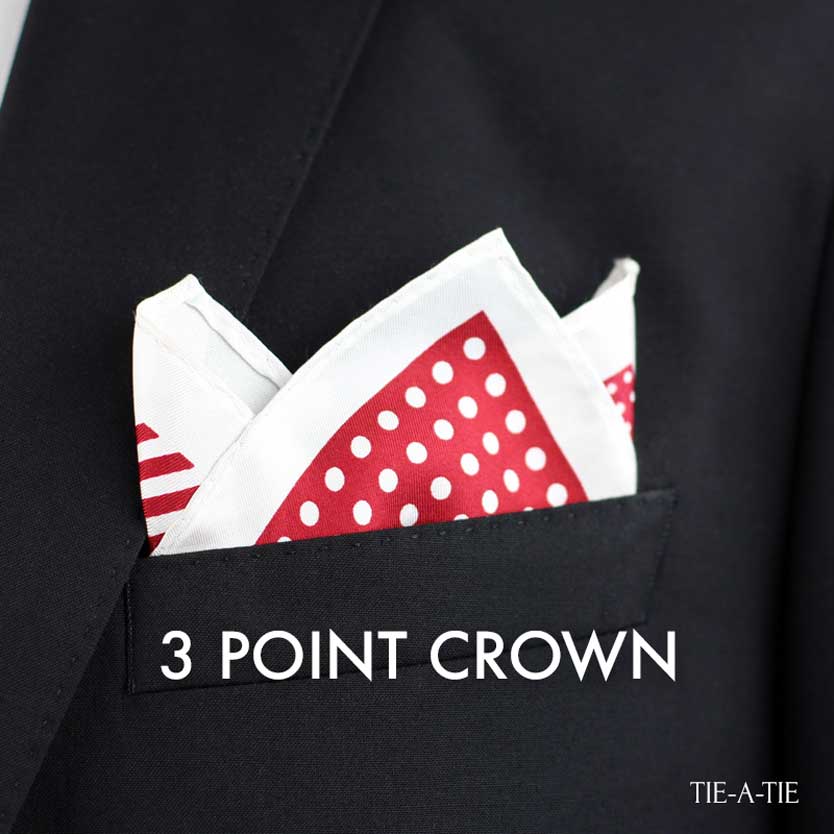
 Lay the hanky down flat.
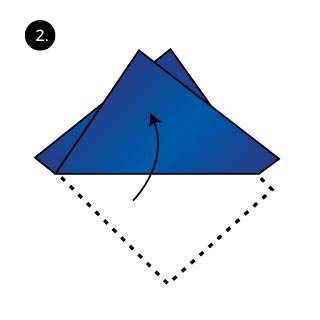 Fold one corner up so that two tips are showing at the top.
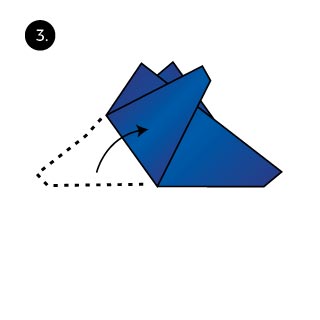 Now fold the left side over to the right to create the tip, completing the crown.
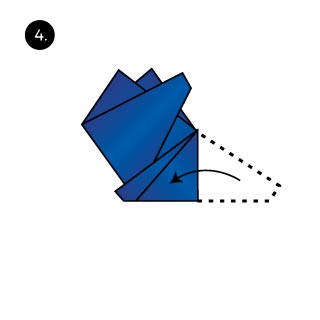 Fold in the left side to create the base that will be sitting inside your breast pocket.
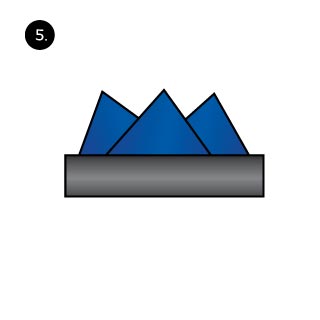 Last, place the pocket square into your breast pocket.
 First, lay the pocket square on a flat surface. Make sure it is clean and wrinkle free.
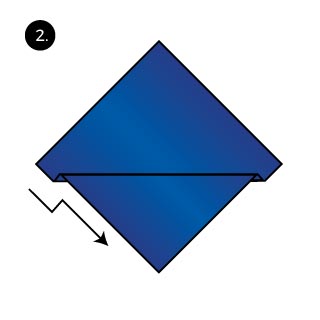 Next, just below the half way line fold the pocket square. Fold up and then back down to create a pleat.
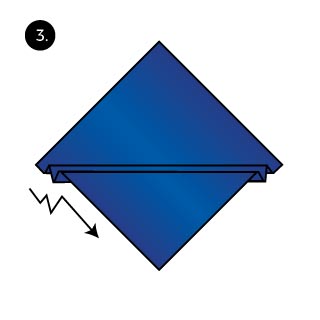 Create a second pleat by folding up, and then back down again. Continue this accordion-like fold all the way until you reach the bottom corner of the pocket square.
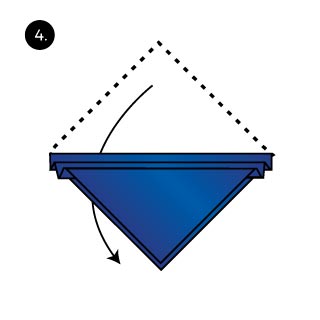 Next, turn the pocket square over. The tip should now be facing towards you.
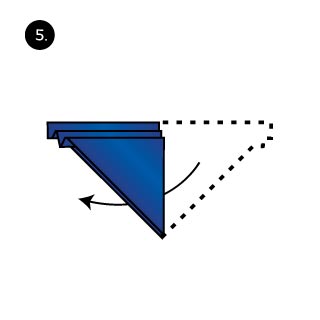 Now fold the pocket square in half to create a smaller triangle.
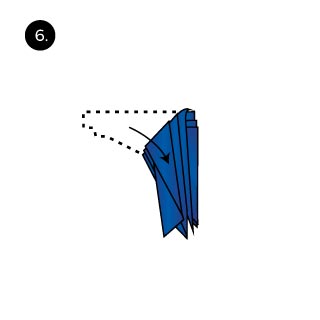 Next fold down one side at a 45 degree angle.
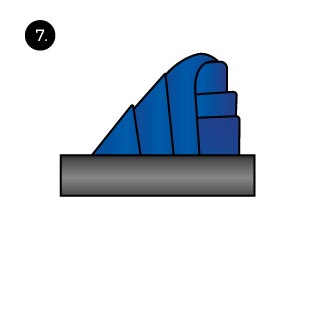 As a final step, place the pocket square into your breast pocket.
 Lay your pocket square down flat.
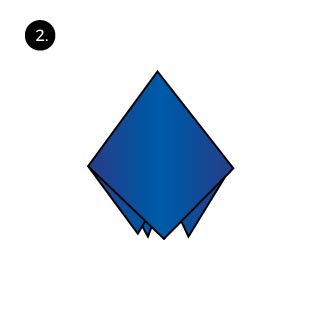 Pick up the pocket square by pinching near the center with two fingers.
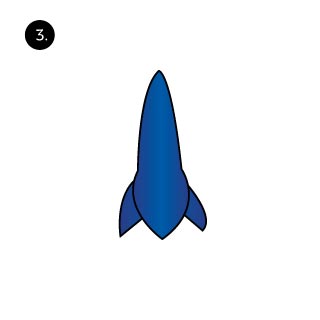 Slide the pocket square through your other hand.
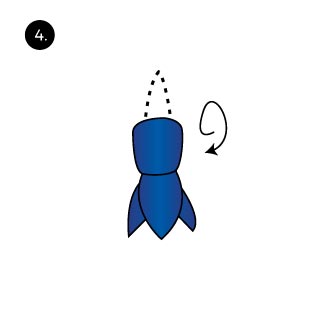 Fold the closed side up to create a base that will sit inside your breast pocket.
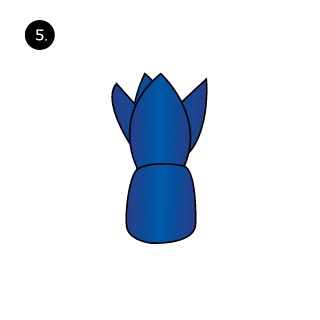 Turn the pocket square around with the tips facing up.
 Last, tug the pocket square into your breast pocket. Style to your liking by pulling on the tips until satisfied.
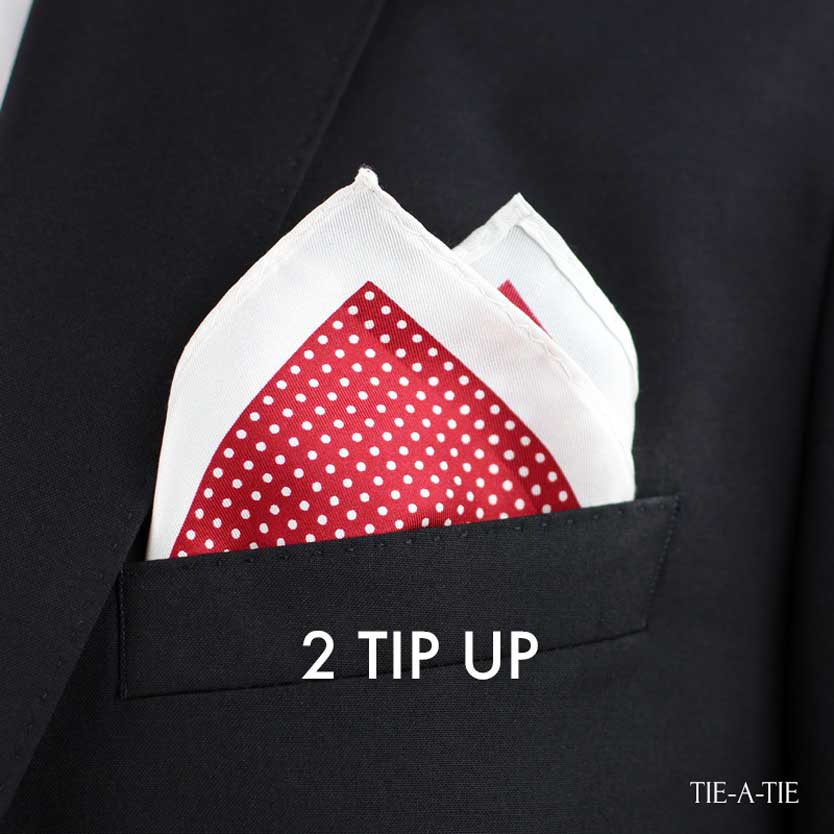
 Lay the pocket square flat. I suggest to iron it first.
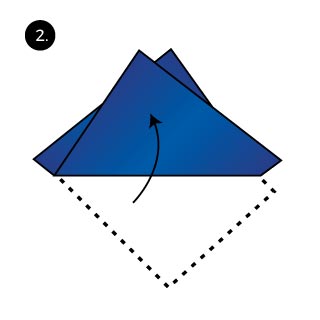 Fold so that it creates two overlapping triangles. This creates the 2 tips that will be showing out of your breast pocket.
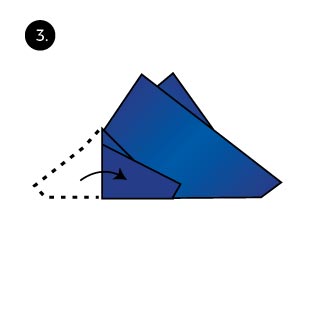 Now create the base by folding one side in.
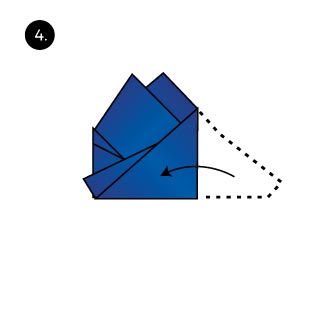 Do the same with the opposite side. The fold is complete.
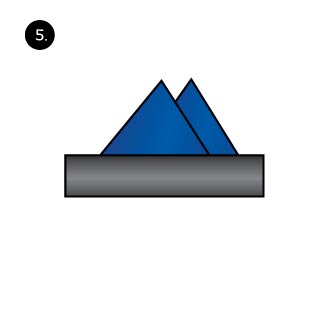 As a final step, tug the folded pocket square into your breast pocket.